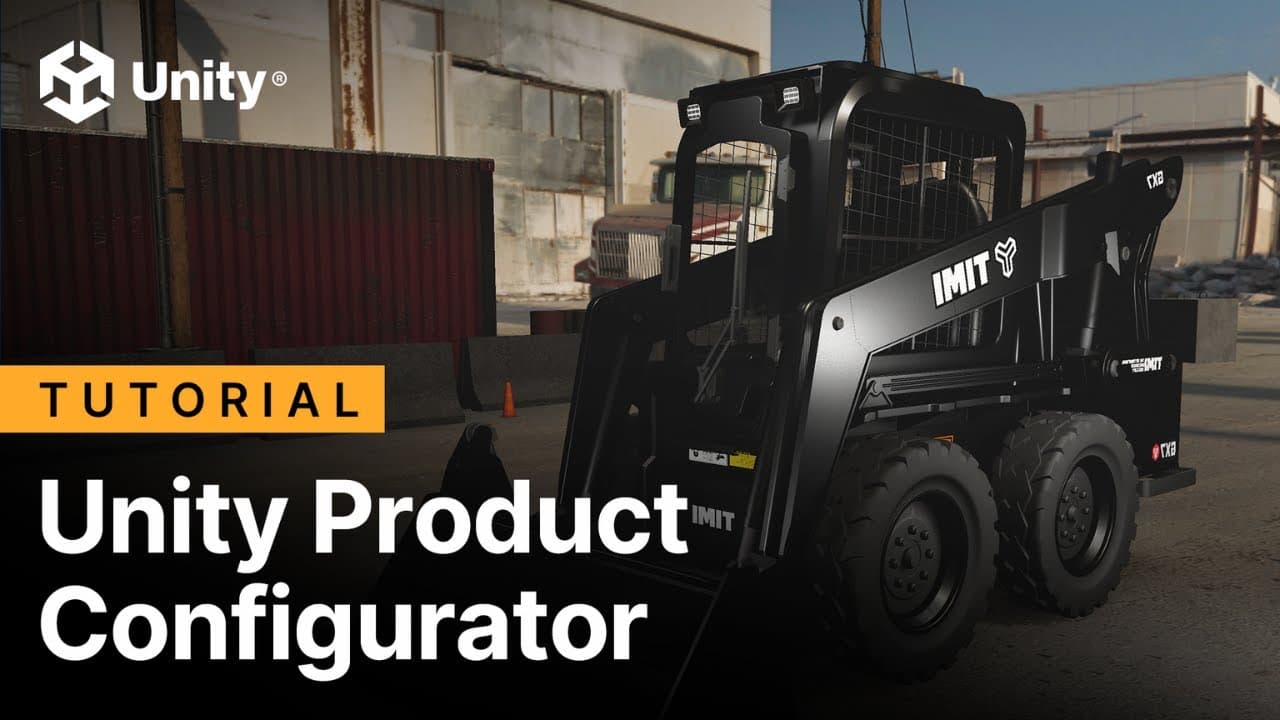
Build professional product configurators in Unity

This article provides guidance for developers and technical artists on building an interactive 3D product configurator in Unity, using the Product Configurator package, and it's based on this video tutorial.
It covers the complete workflow, from initial project setup in the Universal Render Pipeline (URP) to final web deployment. Key topics include importing and optimizing CAD models using tools like the Asset Transformer or Unity Asset Manager, creating dynamic material variants for real-time customization, and building a responsive user interface with clickable controls.
Additionally, it details how to implement camera transitions using Cinemachine and offers best practices for optimizing and building the application for the web, ensuring a smooth, accessible user experience on any browser.
Frequently asked questions
What is the starting point for building a product configurator with Unity?
To get started quickly, you can use the sample project provided with the Product Configurator package.
Start with creating a new Universal Render Pipeline (URP) project in the Unity Hub.
Download the sample project from the GitHub repository.
Open the sample project in Unity to explore its structure and components.
Examine the hierarchy to understand how the variant sets, UI, and cameras are organized.
Since the package is open-source, you can customize any part of it to fit your specific needs before adding your own 3D models.
What are the recommended ways to import and optimize CAD models for Unity?
To ensure your CAD data is ready for a real-time application, it needs to be converted and optimized. The video highlights two primary methods for this:
Asset Transformer Plugin: This plugin, used directly within the Unity Editor, is designed to handle various CAD file formats and includes advanced features for optimizing geometry and materials during the import process.
Unity Asset Manager: This cloud-based solution allows you to upload your source models and use the Optimize and Convert feature. It provides an easy-to-use interface to transform your data into Unity-ready formats before you download them for your project.
- (1:36) - This section of the video covers adding your 3D model into a new scene
- (1:46) - The Asset Transformer Plugin overview
- (1:55) - This section covers the Unity Asset Manager as an alternative for optimizing and converting models
Check out the Unity Asset Manager documentation page and this video tutorial to learn more.
How do I set up the material switching system for a product configurator?
The core of the configurator is the ability to swap materials in real-time. This is managed using a Material Variant Set, which automates the switching logic without any code.
In the Hierarchy, right-click and navigate to Product Configurator > Variant Set > Material Variant Set.
With the new variant set selected in the Inspector, use the Automatically find all mesh renderers feature to locate all objects using your target material.
Create slots for each material you want to switch between (e.g., "Red Metal," "Blue Metal").
Drag your desired material assets from the Project window into their corresponding variant slots in the Inspector.
You can immediately test the material switching directly in the Editor using the preview slider.
- (2:06) - The video introduces the core feature of real-time material switching
- (2:10) - This section covers how to create a Material Variant Set from the Hierarchy menu
- (2:20) - The system can automatically find all mesh renderers using a specific material
- (2:37) - How to assign different material assets to the variant fields
- (2:52) - Test the variant switching in the Editor using the preview slider in the Inspector
How should I configure the canvas for a responsive UI?
To ensure your UI scales correctly on different screen sizes and resolutions, you should adjust the Canvas Scaler settings.
On your Canvas GameObject, find the Canvas Scaler component.
Set the UI Scale Mode to Scale With Screen Size.
Enter a Reference Resolution, such as 1920 x 1080. This is the resolution your UI was designed at.
Set the Match value to 0.5. This provides a balanced scaling approach, blending the scaling between the width and height of the screen to prevent distortion.
How can I create UI buttons to control the material variants?
To allow users to select different materials, you connect UI buttons to the Material Variant Set you created.
Create a UI button by adding a Panel and then a Button to your scene.
Add the Variant Select component to your button GameObject.
In the button's Inspector, find the On Click() event section and click the + icon.
Drag the Variant Select component you just added into the object field of the event.
From the function dropdown menu, select VariantSelect > SelectVariant (). This links the button click to the variant switching action.
Repeat this process for each material option, creating a separate button for each variant.
- (3:01) - This section of the video shows how to create an interface for users to control configurations
- (3:14) - Add a button to the UI canvas and name it appropriately
- (3:40) - The Variant Select component is added to the button to handle logic
- (3:47) - This section shows how to add a new runtime event to the button
- (3:56) - Choose the SelectVariant from the dropdown to link the button to the system
Check out the UI systems documentation page to learn more.
How do I set up multiple camera angles and switch between them using the UI?
Cinemachine is used to create professional, smooth camera transitions between different viewpoints.
Ensure Cinemachine is installed via the Package Manager.
Create virtual cameras by going to GameObject > Cinemachine > Create Cinemachine Camera. Position two or three of these cameras at key viewing angles.
Add UI buttons for each camera view you want the user to select.
For each button's On Click () event, drag the target virtual camera GameObject into the object field.
From the function dropdown, select CinemachineVirtualCamera > Prioritize ().
When a button is clicked at runtime, it will set that camera's priority to the highest value, causing the Cinemachine Brain to smoothly blend to that view.
- (4:45) - The section begins with adding professional Camera Controls with Cinemachine
- (4:58) - Create a Cinemachine camera from the GameObject menu
- (5:11) - The Align with View shortcut is recommended for quickly setting an initial camera position
- (6:09) - Use UI buttons to control camera activation
- (6:23) - Select the Prioritize function to activate the chosen virtual camera
Check out the Cinemachine documentation page to learn more.
What are the key steps for deploying a product configurator to the web?
To make your configurator accessible from any browser, you can build it for the web platform using Unity's Build Profiles.
In the Editor, open the Build Profiles window by navigating to File > Build Profiles.
Select “Web” as your target platform from the list.
Ensure your configurator scene is the only one included in the build’s Scene List.
Optimize the Player Settings by going to Edit > Project Settings > Player. In the Web tab, find the Publishing Settings section.
Set the Compression Format to Brotli to achieve smaller build sizes and faster load times for users.
Click Build and Run to compile the project and automatically open it in your default web browser.
- (7:12) - The section explains how to use Unity's Build Profiles to build for Web
- (7:20) - How to select Web as the target platform
- (7:32) - How to optimize the Player Settings for web deployment
- (7:45) - Learn to set the compression format to Brotli for smaller file sizes
- (7:58) - Click the Build and Run button to generate the web build
Check out the Platform development documentation page and the Profile and optimize a Unity Web build to learn more.